
- By Shanna Salazar
- Residential Roofing
- 0 Comment
Colorado homeowners deal with some of the most extreme weather conditions in the country — from hailstorms and high winds to heavy snow and freeze-thaw cycles. When a storm damages your roof, understanding the roof insurance claim process can make the difference between a smooth replacement and months of frustration.
This guide breaks down the Colorado roof insurance claim process step-by-step, with specific insight for Denver-area homeowners, so you know what to expect, what to avoid, and how to protect your investment.
Step 1: Identify Signs of Storm Damage
After a hail or wind event, not all roof damage is obvious from the ground. Common signs of storm-related roof damage in the Denver area include:
- Missing or lifted shingles
- Granule loss or exposed asphalt
- Dented vents, flashing, or gutters
- Leaks or water stains inside the home
- Soft spots or sagging areas on the roof
⚠️ Important: Waiting too long to address damage can weaken your claim. Many insurance policies require “prompt notice” after a storm.
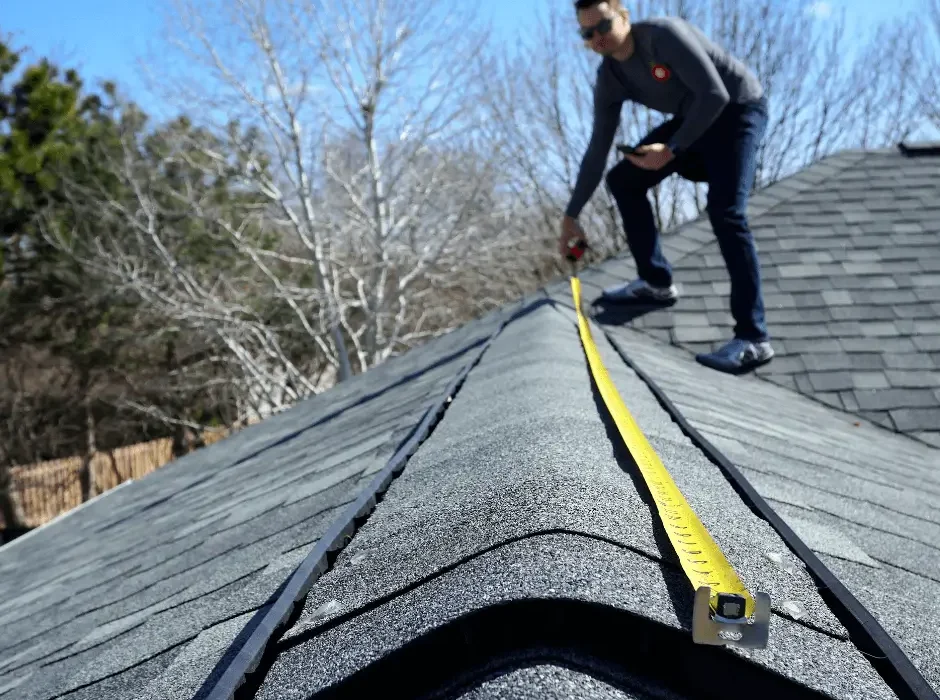
Step 2: Schedule a Professional Roof Inspection (Before Filing)
Before contacting your insurance company, schedule a professional roof inspection with a qualified Colorado roofing contractor.
A proper inspection will:
- Identify functional vs cosmetic damage
- Document hail size, impact patterns, and wind damage
- Determine if replacement or repair is justified
- Create photo and written documentation for your claim
This step protects homeowners from filing weak or incomplete claims that may be denied or undervalued.
How Often Should I Get My Residential Roof Inspected?
Step 3: File Your Roof Insurance Claim
Once damage is confirmed, contact your insurance provider to file a claim. You’ll be asked for:
- Date of loss (storm date)
- Description of visible damage
- Policy and contact information
After filing, the insurance company will assign an adjuster and schedule an inspection — often within 1–3 weeks during peak storm season in Denver.
Step 4: Meet the Insurance Adjuster (Critical Step)
This is one of the most important steps in the entire process.
During the adjuster visit:
- The adjuster inspects the roof and exterior
- Damage is evaluated and measured
- A preliminary scope of work is created
⚠️ Why contractor presence matters:
Insurance adjusters work for the insurance company — not the homeowner. Having your roofing contractor present helps ensure:
- All damaged components are identified
- Local building codes are considered
- Nothing is missed or minimized
Step 5: Review the Insurance Scope of Work
After the inspection, the insurance company provides a scope of work outlining:
- Approved repairs or replacement
- Material allowances
- Labor costs
- Depreciation and deductible amounts
This is where many Denver homeowners run into trouble.
Common issues with insurance scopes:
- Missing line items (ventilation, underlayment, flashing)
- Outdated pricing
- Code upgrades not included
- Partial approvals when full replacement is needed
Step 6: Supplements & Adjustments (If Needed)
If the scope does not fully cover the required work, your contractor can submit supplements — detailed requests for additional coverage based on:
- Hidden or code-required items
- Manufacturer installation requirements
- Local Denver building codes
This step is normal, not confrontational, and often necessary to complete the roof properly.
Step 7: Claim Approval & Scheduling Roof Replacement
Once the claim is approved and the scope finalized:
- Materials are ordered
- Permits are pulled (if required)
- Roof replacement is scheduled
Most residential roof replacements in Denver are completed in 1–2 days, weather permitting.
Step 8: Final Invoice & Depreciation Release
After completion:
- The contractor submits the final invoice
- The insurance company releases any recoverable depreciation
- The claim is officially closed
Your contractor should provide:
- Warranty documentation
- Final inspection confirmation
- Maintenance recommendations
Common Colorado Roof Insurance Claim Mistakes to Avoid
🚫 Filing a claim without a professional inspection
🚫 Waiting too long after the storm
🚫 Assuming the insurance scope is final
🚫 Choosing a contractor unfamiliar with insurance work
🚫 Focusing only on price instead of proper restoration
Why Denver Homeowners Choose Professional Claim Support
Colorado’s weather creates high claim volume, which means adjusters are often overloaded. Having an experienced roofing contractor involved from the start helps ensure:
- Fair claim outcomes
- Code-compliant repairs
- Long-term roof performance
- Less stress for the homeowner
Get Help With Your Roof Insurance Claim
If you suspect storm damage or are unsure whether your roof qualifies for replacement, start with a professional inspection. The right guidance early on can save time, money, and frustration.
Schedule a free roof inspection and insurance consultation with Premier Restoration & Construction today.